Getting Your Password and Logging In First Time
- Your USER NAME is the same as your LCC user name – which is sometimes called a “TUID” at LCC. It is often the first five or six characters of your last name followed by first initial and maybe a number. This is the same user name you use to log into Banner or D2L.
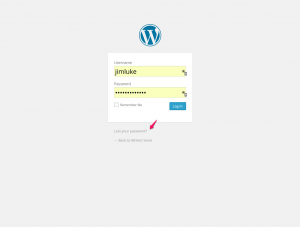
- Your PASSWORD has been created by the system and only you have access to it. To get or set your password the first time, you need to click on the “Login” button on the Writers Voice website as shown here:

- This will take you to the WordPress Login screen as shown here. Now click on the little phrase “Lost Your Password?” at the bottom as shown here:
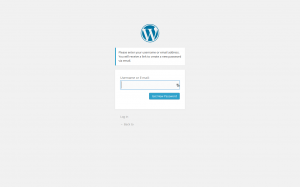
- Now you will see the Reset Password screen, as shown here. Enter your username or your LCC student email address and click “Get New Password”.
- Now, go to your LCC student email (not D2L email) – the Gmail based student email. You will have an email message with instructions and links for creating your own password. Be sure to make it a relatively strong password – preferably with both upper and lower case alpha characters and some numeric characters.
- Once you have created or reset your password, you can go login to the site.
Logging In Is Easy as 1-2-3-4 Once You Have a Password
- Go to the Writers Voice web site at: https://writersvoice.malartu.org. Well, OK, you can skip this step since, if you’re reading this then you are already at the website!
- On the menu bar, click on the “Login” button, as shown here:

- This will take you to the WordPress Login screen as shown here.
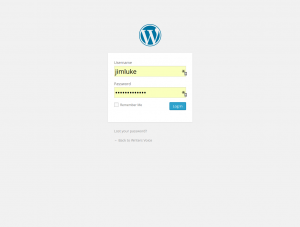
Whenever you login, you simple enter your username and password, and hit enter. You will then be taken to the “Dashboard” or “back-end” of the website. This is where you can create your post(s). For how to create your post, see the instructions below here. Enter your username and password you created. Click “Login”.
- This will take you to the “Dashboard” or “back-end” of the website. This is where you create posts. To switch back -and – forth between the “front end” of the website, the part the public sees, and the “dashboard” or “back end”, go to the purple or black bar across the top, roll your mouse over the “Writers Voice” (towards upper left), and click on either “Visit Site” to see the front end, or “Dashboard” to go back to the back end.
How to Create a Post in 4 Steps
- Login and go to the Dashboard. It should look like this just after you login:
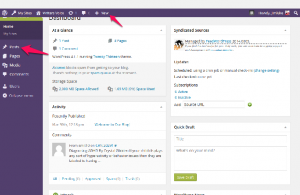
- Roll your mouse over EITHER of the two links that the red arrows point to in the above screen shot. One is at the top of the screen on the “tool bar” and it says
“+ NEW“. Roll over it, a menu appears and you then click on “Post”.
Or, you can roll your mouse over to the menu bar on the left side of the page. Again, roll over where it says “POSTS”, and a menu appears. Click on “Add New”.
- Now you will be at the Create New Post page in the Dashboard. You need to do 4 things. These four steps are identified with the red arrows in this screen shot:
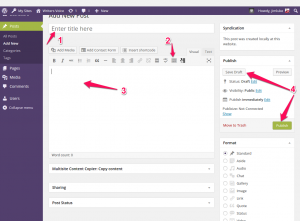
- Step 1: Type a title for your post. This will be the headline that will be displayed on your post.
- Step 2 (optional): click on the little button in the toolbar as shown above. This will open a second line of toolbar buttons to help in styling your post.
- Step 3: Write your post content. If you want, you can copy-and-paste from other material you’ve written, perhaps in a word processor. Use Control-V to paste copied material. You can use buttons in the post editor toolbar to style your content.
- Step 4: When you’re done and satisfied with the post, click on the big PUBLISH button. If you’re not finished but want to save it to work on later, click on “SAVE DRAFT”. Then you can log out. When you come back and log in later, go to the “POSTS” >> “All Posts” on the left side menu and click. Then find your post and re-open it to edit.
- THAT’S IT!


